27 October 2011

Fairy Castle Drawers

These Fairy drawers (for my niece Soph) were quite a bit of work but totally worth it for a
special wee girl to hide all her treasures in!!
The drawers are from Kaisercraft (who else) and the papers and embellishments are from
 Imaginisce - Enchanted range. 

They are seriously cute!!


I've made 'handles' on each of the drawers using a gemstone brad through a flower button and then a fabric flower in behind the button.
I've also embellished the drawers with rhinestones and pearls.


Pearls and rhinestones add a bit of texture and bling.


I've also covered the inside of each of the drawers. 
Yes it's extra work, but I think it looks better and my niece would probably think I hadn't finished it!
We are both a bit fussy! 
I've inked around the exposed chipboard edges in pink.


Please feel free to leave a comment if you have any questions!


http://www.imaginisce.com/  
http://www.kaisercraft.net/

16 September 2011

Easy Cushions

Hi everyone

I'm not much of a sewer but these are SO easy even I could manage them! 
If, like me you like to shy away from plastic bags you will probably end up with lots of calico ones.  So instead of stuffing them away and not using them I've made a couple into cushions.

They couldn't be easier, I cut the handles off, washed them (being calico they shrunk considerably), ironed them, stuffed them and hand stitched the tops up!

The sewing really is all done for you!!

I think they look great on my favourite red leather chair!


27 June 2011

All Aboard The Girl Train!!

I've been wanting to post these photos for ages but had to wait until the train made its way to a very special wee girl in shaky old Christchurch before I could share it.

I've made this train a couple of times for boys so when my friend told me she was pregnant I said to her "if you have a boy I'll make you a train!" She, being a somewhat unconventional type replied "if I have a girl you can make HER a train!" From that moment I was kind of hoping it would be a a girl!! haha. After all girls can have trains too!

I didn't want to make this with pale colours but obviously still wanted it to be girly so Echo Parks Little Girl range was ideal.  It's nice and bright and vibrant but still girly at the same time! The train caddy is from Kaiser Craft and yes it takes quite a bit of prep work with sanding and painting before you can get onto the fun part ... decorating .... but it is WELL worth the effort!


Finished train filled with goodies for Olivia.


I used a small mirror for the centre of this flower on the main carriage.

20 June 2011

Cards

Here's a selection of cards I have made recently.

Firstly a very overdue (the card not the baby) card for a wee girl using one of my favourite ranges Echo Park Little Girl. I decided to drag my sewing machine out and try sewing my papers on.  I quite like the effect even if my sewing isn't very good! I figured I can get away with it on a card!


Here's a Birthday card using MME Fine and Dandy range.  I just LOVE these papers! I'm making a mini album using them at present.
I have inked around the card and then distressed and inked around the embellishments. I like the effect this brings and I think it finishes off the card nicely.  


Mothers Day Cards.
I'm totally cheating here and basically doing one card 3 ways with slight variations on the theme.
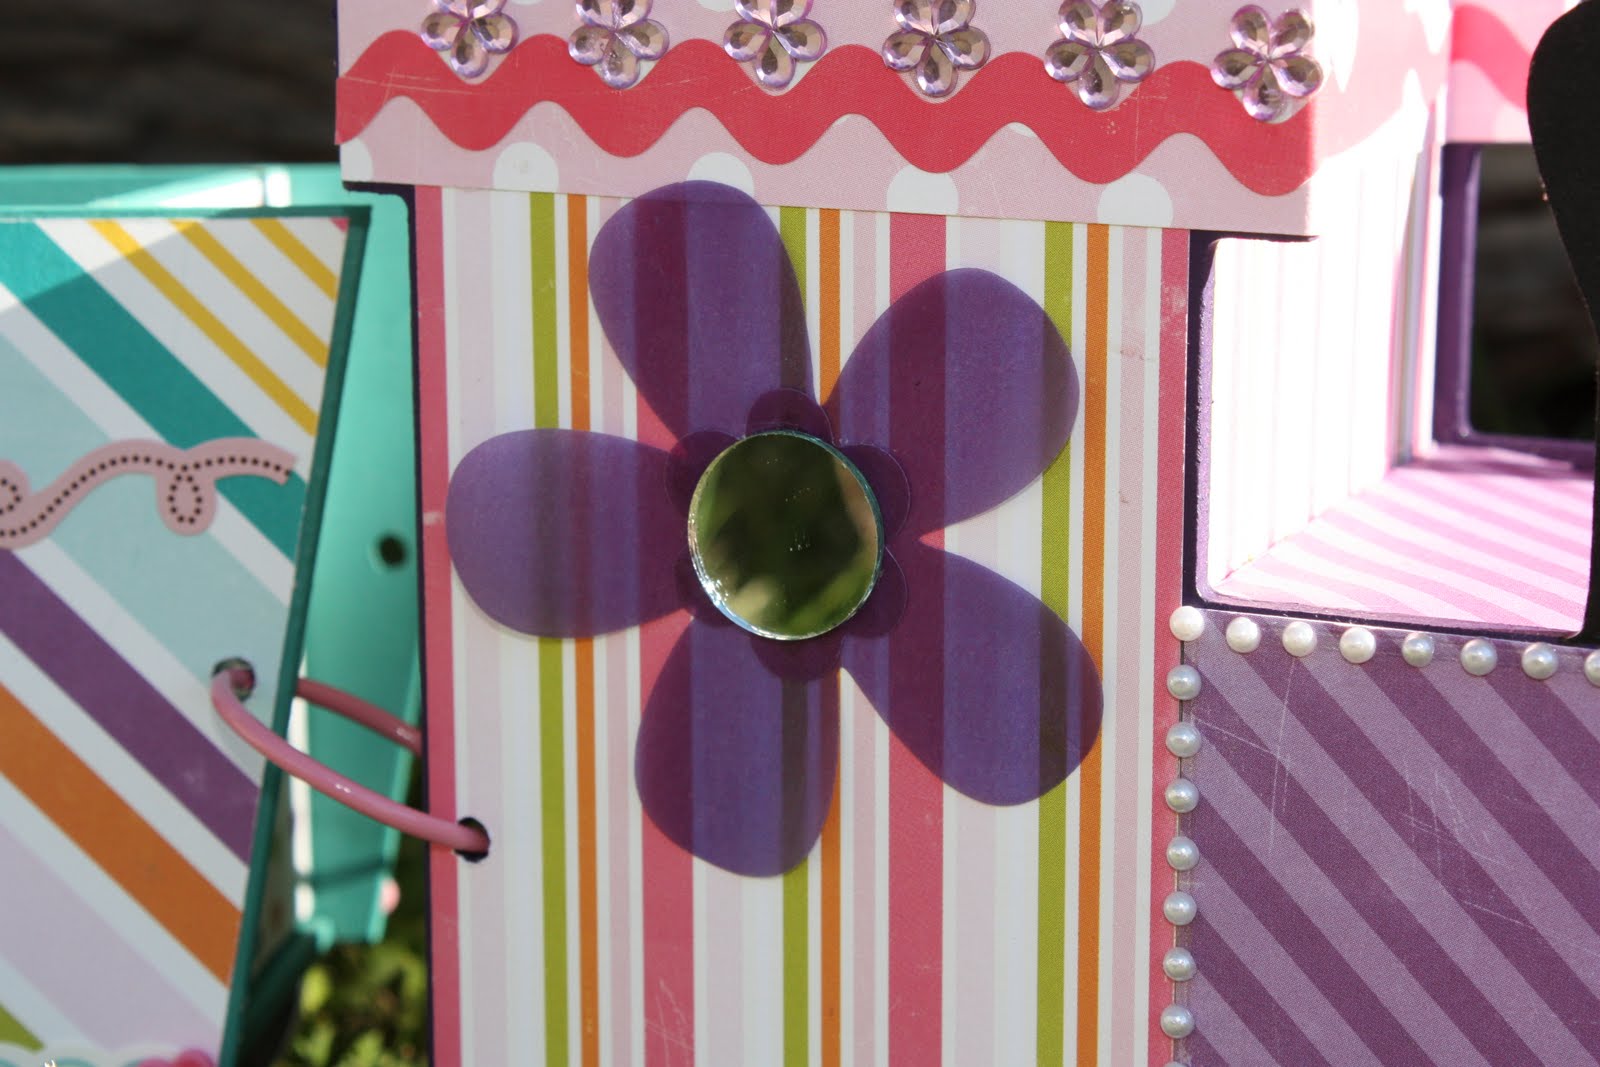
Mum's card is again using Fine and Dandy and a Kaiser Pearl Flourish.
I just love these, they make something look really special with minimal amount of fuss! Although getting them on can prove to be a challenge!


Mother in Law's Mothers day card, same concept but a slight variation.
Distressing, inking, sewing and a paper flower. Plus a wee bit of mist on the background. And of course the pearl flourish.


These paper flowers are so quick and easy and you don't even need punches for the circles as they are cut free hand with scissors.
Draw 4 different sized circles on 4 contrasting papers, (or however many circles you like, 3 looks good as well) using what ever you have, a glass, a coin, anything round.
Cut around the circles then screw the paper up into a ball and use a distressing tool or sandpaper on the edges. They need to look worn! An emery board can be handy for this!
Then ink around the circles, layer them up and sew a button in the middle!

Very simple and lots of fun, plus I think they look great!!
They are going on everything at the moment!


16 May 2011

Sophie's Art Work Canvas

This was a gift for my niece Sophie, when she turned 5, for all her school artwork, only problem was she liked it so much she didn't want to hang anything on it!

Its a large canvas painted, with little wooden pegs hanging off ribbon. I found the cute ladybug pegs in the supermarket of all places!

The lettering is chip board that I painted and sprayed with a gloss once dry. The flowers are stuck onto the canvas with brads in the centres. Be wary of the timber frame when you do this as its a bit hard to attach them if they are 'over' the frame ... as I found out the hard way!

Getting the ribbon on straight was probably the hardest part but I stapled a plastic tape measure onto the frame at the back and across the front of the canvas to use as a guide, and it worked quite well!


28 April 2011

Book for Marie

This is the first book I have made that wasn't going to a friend or family member. And I have to say I did find it a wee bit challenging as I normally put the photo on the page then work around it.
It was made as a gift for a friend of a friend who in her early 30's was suffering from terminal cancer.
I made this so she could add some photos and hopefully remember better and healthier times.
The papers are from one of my absolute favourite companies Echo Park and the range is Life is Good.
The name of the range may not have been quite right but the sentiments on the embellishment stickers were just perfect for this special project.

Sadly Marie lost her battle with cancer a few weeks ago.  


Mini Album

I started this book ages ago but wasn't very inspired by the papers (for some reason manufacturers think all pet papers should be in shades of orange, green and dirty brown. Parsley may be the neighbourhood bully and prone to rolling in the garden, but she is still a girl cat) so I lost interest in it rather quickly. 
But it had to be finished, so I tried to make it not so green and orange by adding red, cream and chocolate to the mix, mainly in the form of ribbon, 3 of my favourite colours!
I think despite the uninspiring colours it still makes for a cute mini album.


Storage Solution

This is a neat little storage box by Kaisercraft. It was quite easy to make up, but as with most beyond the page items the sanding and painting takes the most time. 
I painted this in black so one coat was all it needed. Nice and quick, just how I like it!!
The papers are from We R Memory Keepers White Out - Hoopla Collection.
I've had them in my stash for ages just waiting for the right project!


18 January 2011

Queensland Floods Appeal ..... with a Difference!

I'm sure like me you have been shocked by the sheer devastation that mother nature has wreaked upon Queensland over the last few weeks. 

A couple of clever crafters have come up with an idea to collect scrapbooking supplies and ready made pages (just add a photo) and distribute them to those crafters who have lost everything. 
I know I find creating a very therapeutic pass time so I'm sure once the clean up has begun there will be many a scrapbooker who is keen to get back into it, but I can imagine papers and embellishments will be well down the list of priorities.

The thought of losing my stash is rather upsetting, so I think why keep it tucked away in a box when someone else could be getting enjoyment from it in the months to come!

Please support both of these causes if you are able!


http://scrapsuppliesdonations.blogspot.com/